
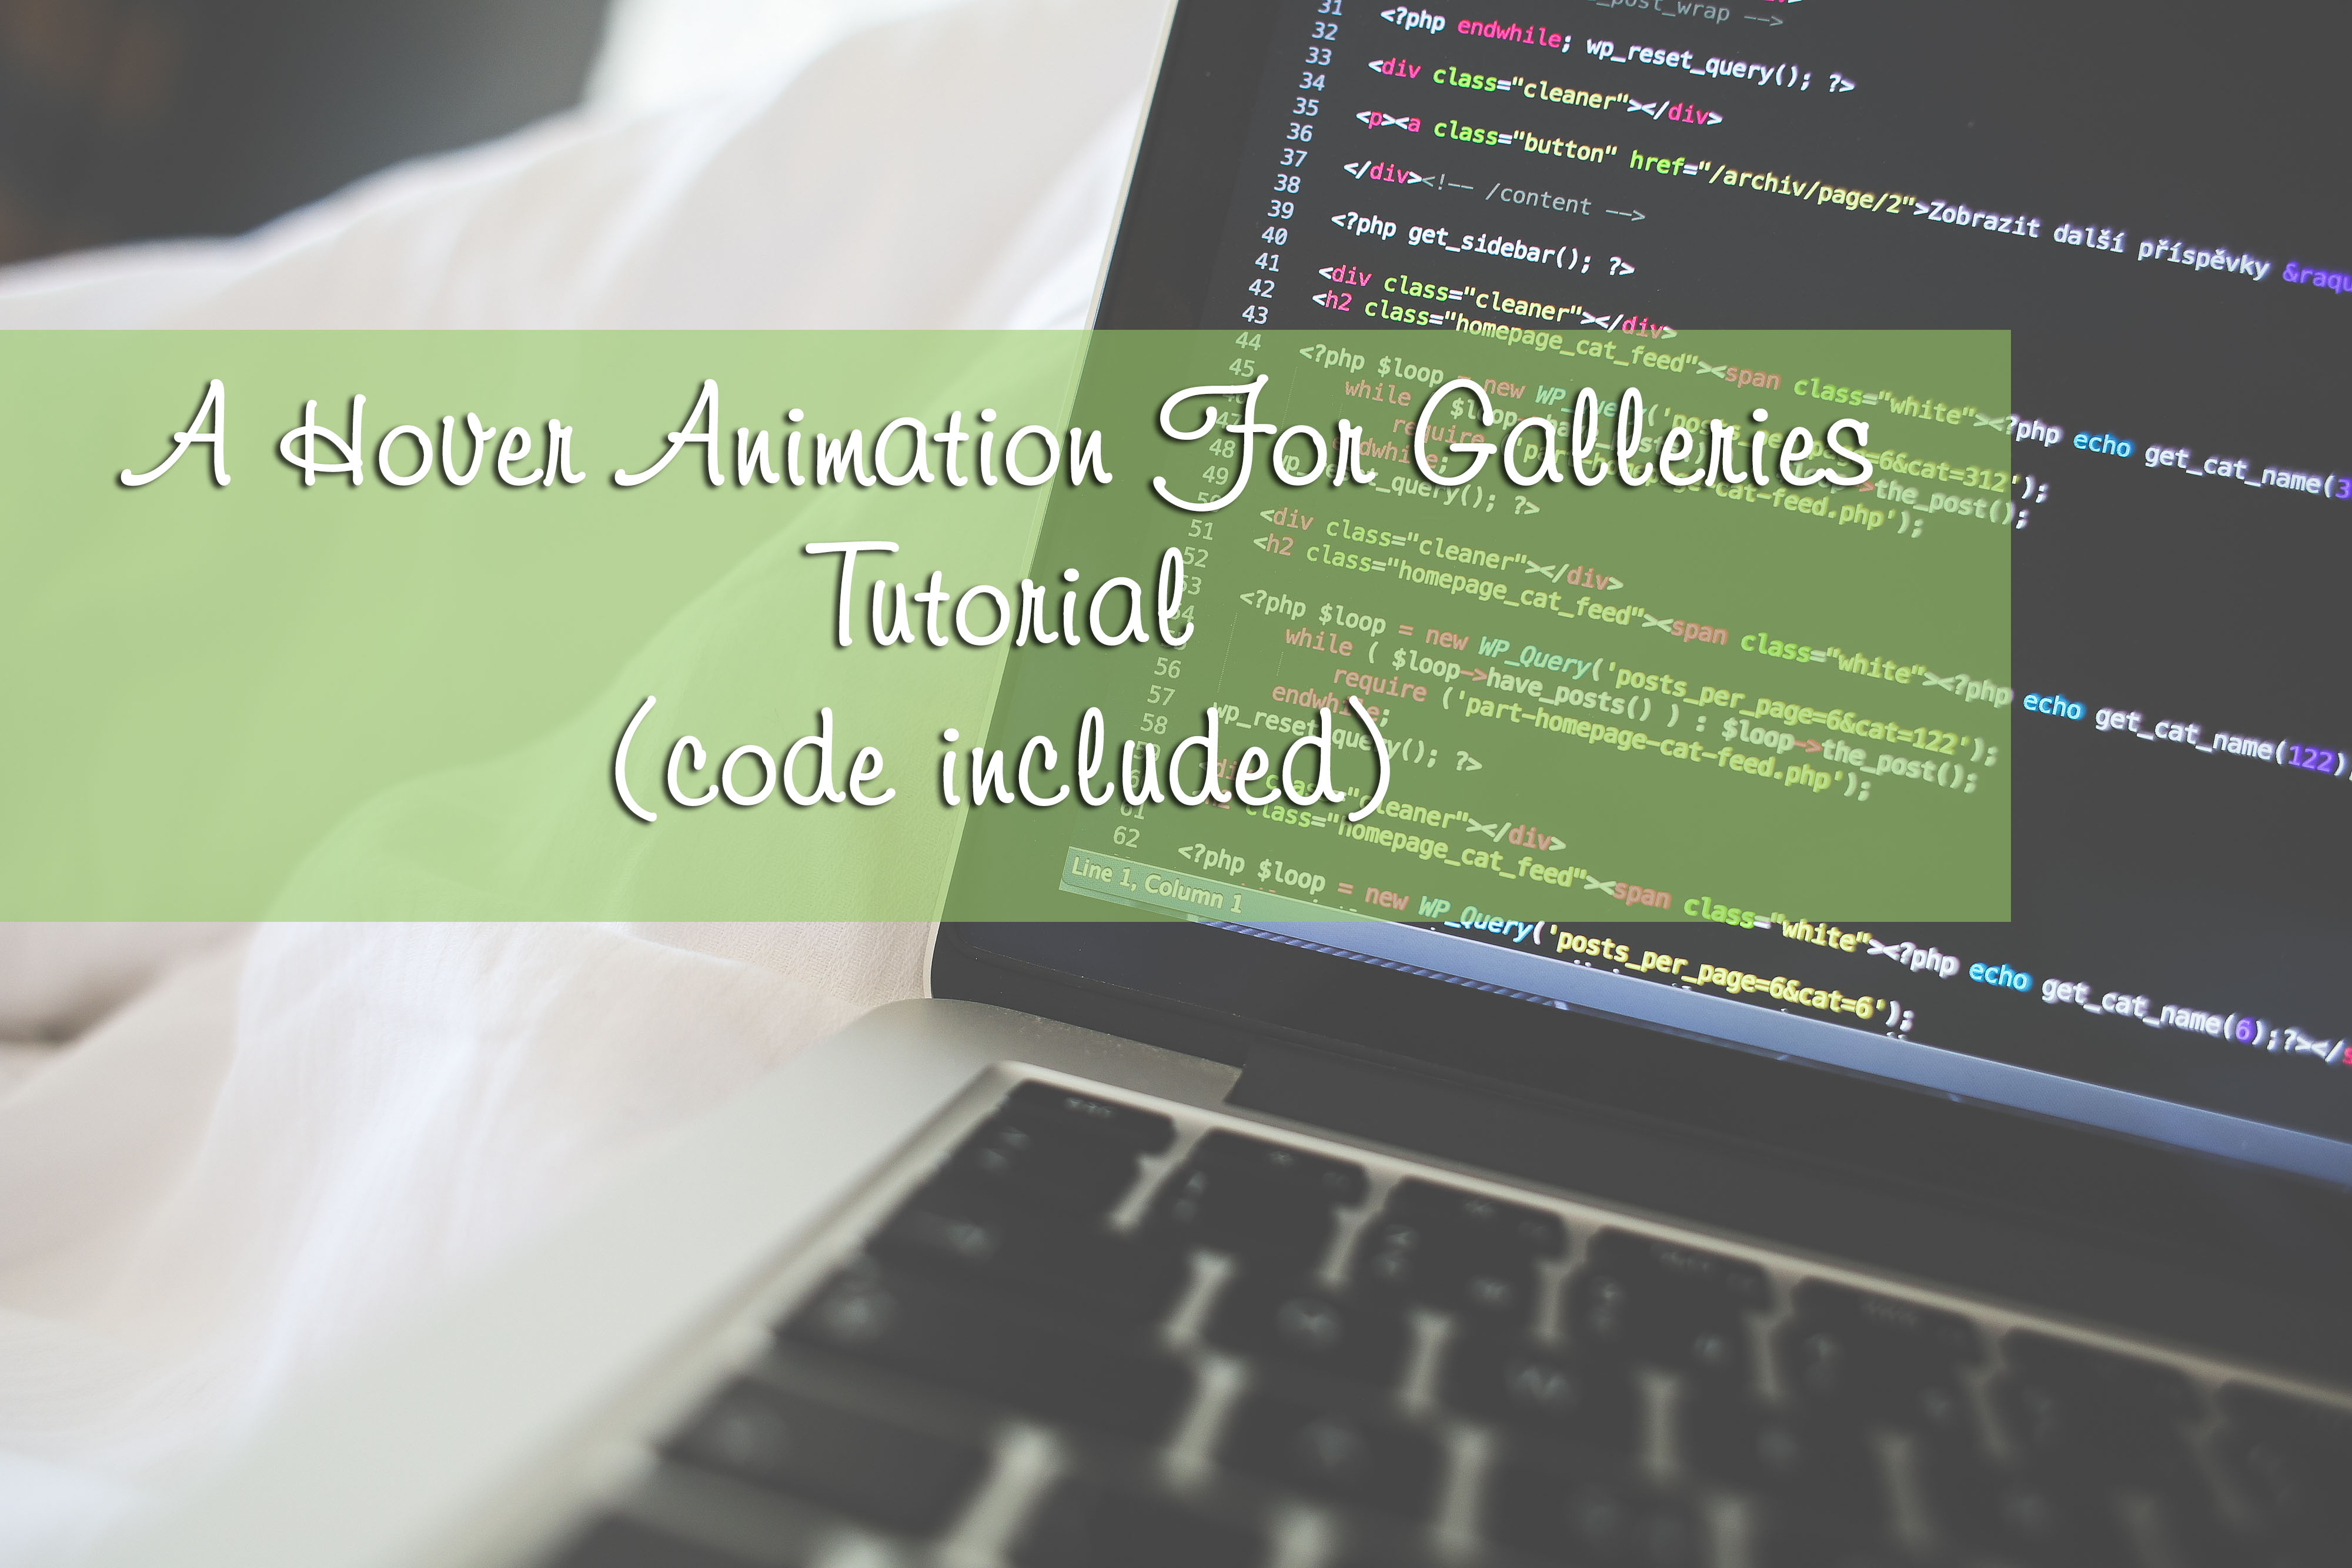
Hover Animation
Go to almost any current website, and you are almost sure to find a hover animation, especially in portfolio type websites. Of course, this type of animation is certainly not limited to any particular kind of website, but it is definitely suited for image galleries. This tutorial tackles a pretty simple hover effect, but sometimes the most simple design elements can have the most impact. In this tutorial we will show you how to make an image that changes to another image on hover. There are a couple of ways you can use this snippet of CSS, one of which being to reveal an image upon hovering, or if you use text in the foreground, to change the background color of the text, lets say for a button or something similar.In both instances we will show you, the image will also serve as a link- either to a larger version of the image, or to another page entirely.
Hover Animation Example 1: An Image With Text that Changes Background
In this example, we look at an image that appears one way on the page until the user hovers over it, this triggers the first event. When the user stops hovering over the image, it returns to the original. If the user clicks on the image, it is a link. For this example we simply used the link to an attachment page for the image, but you can link to whatever content you would like.
Hover Animation Example 2: An Image That 'Reveals' Another Image
In this example, we use the same code to cause a different that looks different, but really is just another version of the above. When the user hovers over this image, it 'reveals' the image below, and when the user takes the mouse off the image, it returns to its original appearance. Again, we linked to an attachment page, but further down we will show you the code and where to input your custom links
Hover Animation Example 3: A 3 Part Image Transition
In this version, we use the same code above, except instead of returning to its original image, it changes to another entirely and stays that way, until the user hovers over the image again, and then it starts the sequence all over again
We have formatted the code so that you can copy + paste it and the boxes will continue to line up with even spaces in between.
Okay, So Lets Break This Down
The coding for this fun little transition is incredibly simple. The main principle that the code uses are the HTML Event Attributes. Namely, this code uses the 'onmouseover' and the 'onmouseout' properties.
The Animation is broken down into three parts
- -The 'Original' image
- -The Hover image
- -The image once the mouse is no longer hovering
Building The Box
There is a little CSS you need to set up in order to make this work. The code is small enough that it can be done inline, but you can also feel free to incorporate it as part of your stylesheet. This would be as follows:
    #NameYourBox {
    display: inline;
    float: none;
    margin: 20px;
    padding: 20px;
    };
You would put this code with the other CSS elements in the 'style' section before the body, or separately on a stylesheet with your other div elements.
The Images
You will need at least two separate images to create any of these hover animations. If you are choosing to have the same photo for the original image, and when the mouse is no longer hovering, then you will only need two images. The important thing here is to make sure that the images are the same size. The CSS styling will make sure that they appear the same size on the page, but you will want to make sure the photos themselves are the same size. Let's look at example 1. These are the images that I used (minus the border around the second Image. I did that simply for visual aid)
As you can see, the key to the smooth transition is the font remaining the same size in both photos. Having photos of separate sizes can lead to weird distortion issues and will make the animation look rough or unnatural
The HTML
The Last thing you need for this animation is the actual HTML which you will put into your post or page.
    <div id="NameYourBox">
    <a href="url to which you want to link">
    <img src='url to main image' width='250' height='250'
    onmouseover="this.src='url to hover image';"
    onmouseout="this.src='url to main image';"/></a></div>
With this HTML, you would replace the blue text with the corresponding URLS. The first URL you would input would be the URL to the content which you want this image/link to follow. The second URL would be the URL to the original image, or the image that is displayed at the time the page loads. The next URL is to the image you would like to be displayed during hover. The Last URL is the image you would like displayed when the user takes the mouse off of the image. For animations where the images start and end the same (such as in example 1 and 2), you would use the same URL for the original image, and for the url after 'onmouseout'. For 3 part transitions, you would specify the url to the third image you want displayed. You can specify your own height, width, margin and padding for your div element. Pay special attention to the places which use quotation marks, and those which use apostrophes! Mixing these up means your code wont work!
And there you have it!
An image with a hover effect that links to the content of your choice!
We hope this little tutorial helps to add a simple, fun hover animation to your personal website. For more, always come and check or blog!